Part 1 – Finding the fossil
Imagine you are walking along a beach. The ground is strewn with rocks of different sizes, shapes, and colours. You spot a rock that looks quite different from the others. It has an unusual shape and texture. Maybe it’s a fossil! Of course, you decide that you will bring it home with you!
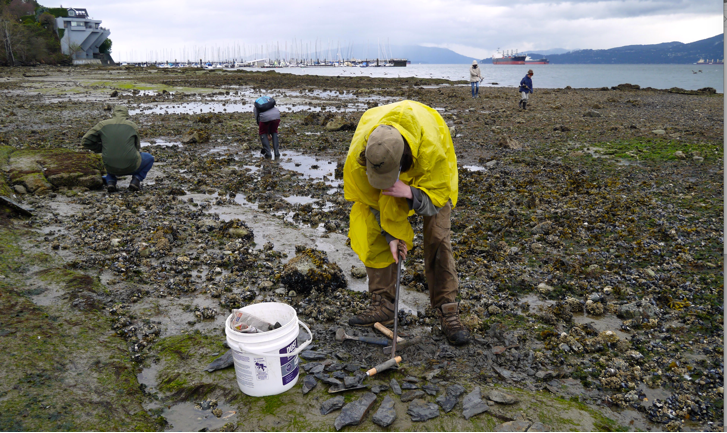
Searching for fossils along Burrard Inlet in Vancouver, BC
What you do next with the rock will impact the potential usefulness of your find.
Your first consideration is whether or not you are legally allowed to take the rock home. If you are in a park or a protected area, you must put the rock back where you picked it up. If you are on private land and are not the landowner, you must get permission to take the rock home. Even if it’s okay to collect at the location, consider whether or not it would be good to remove the rock from that particular location versus what you plan to do with it at home.
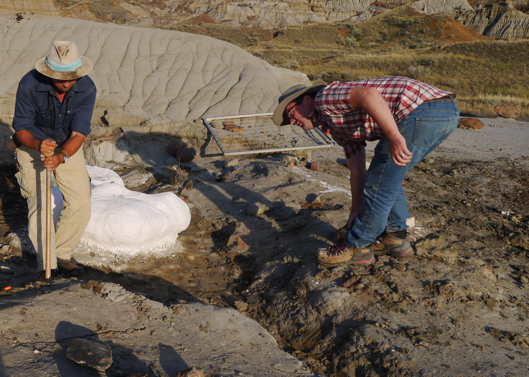
Dr. Caleb Brown and Darren Tanke on a fossil dig in Dinosaur Provincial Park. Since this is a protected area, Dr. Brown was required to obtain a permit to dig for fossils in this location. Both paleontologists are working on behalf of the Royal Tyrrell Museum of Palaeontology.
For our story, let’s just say it’s okay to collect in our location. The next step, and it is indeed an important one, is to record some specific information about your fossil. You take out your field notebook and pencil and write down the date, location name, description, and GPS coordinates of the spot where you took the fossil out of the ground. It is also a good idea to take a photo of the discovery before you remove it from the rock, and then another sitting on the ground in the spot you found it. Placing a ruler beside the rock gives an idea of scale. An important distinction to make is whether you collected the specimen in situ, that is from within the enclosing rock, or whether you found it loose on the surface, in which case you denote that it is “from the float.” These are very important distinctions in the scientific analysis of the fossil.
Once you have recorded the location information, you place the specimen in a collection bag. The best kind of collection bag is made of cotton with a drawstring. You label the collection bag using a Sharpie pen with specific information about the fossil locality so that you can recognize it from your pile of collection bags, each filled with fossils from a different site. Some people assign “field numbers” to their collections such as MW (for Marianne Wong) -22 (for the year, 2022) -01 (the first locality you visited in 2022), and this is recorded in both your notebook and on the collection bag. By recording this information in your notebook, you have a permanent record of the collection and where it came from.
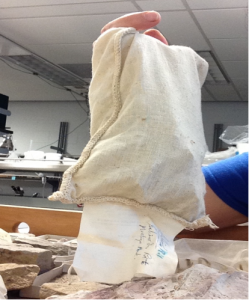
A fossil collecting bag
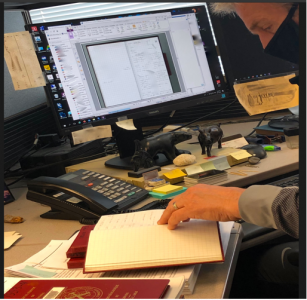
Dr. Jim Haggart reviewing his field notebooks for detailed information on fossil collections.
Part 2 – Analysis and preparation
You are at home and ready to take a closer look at that rock you picked up on the beach. It’s time to clean the fossil. This can be done with water and a soft brush. You just want to clear away any mud and dirt on the surface of the rock. Later, you may end up doing further preparation on the specimen.
First, though, you need to try and figure out what you have. At this point, fossil guidebooks and internet resources can be really useful. If you are fairly certain you have a fossil and know roughly what it is, compare your specimen to the references. If you are still unsure whether or not you have a fossil, you can check and see if fossil finds have been reported at the location where you collected your specimen. Other useful resources may include local amateur paleontology groups and your local museum.
Let’s say at this point you have a fossil and you have identified it. If you start to acquire more fossils for your collection, it is easy to lose track of which fossil was found where and other important details. Cataloguing your fossil is the best way to remember this information. Assign a unique number to your fossil, such as, perhaps, the field number you assigned to the collection and wrote on the collection bag, and then write it on the specimen with a felt tip pen. Some people draw a thick line of white paint on the fossil and then use an India ink pen to write the number on the white line (see the photo below). Linking the number you’ve written on the fossil with the information you collected in the field as well as the information you learned from other sources, comprises the start of your catalogue.
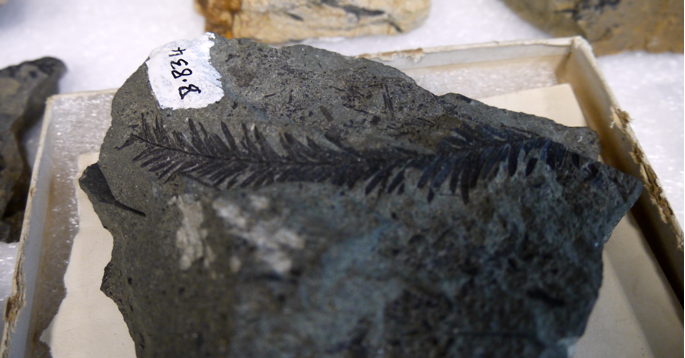
Plant fossil that has been catalogued and is sitting in its own tray.
Part 3 – Storing your collection
Fossils generally don’t require much maintenance but they do tend to take up physical space, especially if you want to display them. Rocks can also be very heavy. Be careful of floor weight capacity limits for your location. If you are short on space, why not consider a photo fossil collection?
A photo fossil collection is just the same as a physical fossil collection except that the specimens are not cluttering up your home. Also, you can have some pretty awesome items in your photo catalogue! Starting a photo fossil collection is easy. When you spot a fossil, either on a beach, in a museum, or elsewhere that you want to add to your collection, take a photo (or three or four) and record all of the same information about that specimen that you would if you were out in the field collecting it. For example, if you wanted to add George the Lambeosaurus who resides in the Pacific Museum of Earth in Vancouver, BC, to your catalogue, go and visit George and take a photo. You can note George’s current location with GPS, where George was originally found, who the original collector was, the size of the skeleton, the number of fossil bones collected, how the fossil is prepared and displayed, information on lambeosaurs, and anything else you find interesting. While it would not be a good idea to write your catalogue number on George (the Museum would not like this!!), you could still assign a catalogue number to him in your catalogue.
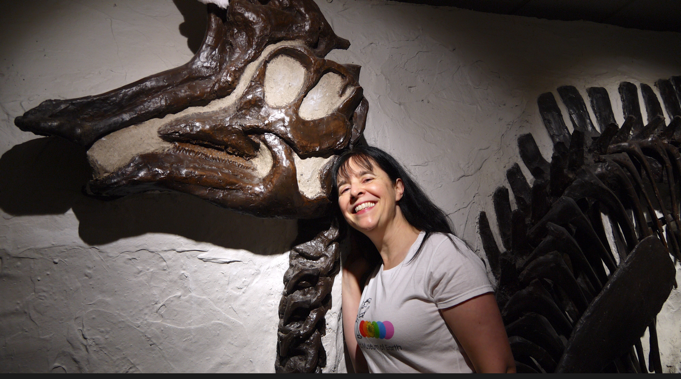
George and me at the Pacific Museum of Earth.
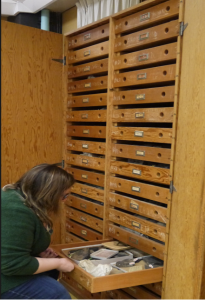
Dr. Kirstin Brink examining a collection of fossils at the University of British Columbia
It is easy to carry your photo fossil collection around with you and show your finds to friends and family.
Now that you have your collection catalogued, it’s a good idea to organize your collection. There are many ways to organize a fossil collection. One of the most common ways is to organize by taxa. You can separate fossils by species or family. For example, ammonites and trilobites are kept separately.
Collections can also be organized by locality. For example, fossils found in BC are separate from fossils found in Alberta, and so on.
Some collections are organized according to the geological time scale. Cretaceous fossils are grouped separately from Jurassic fossils.
Fossils can be organized by type of specimen. For example, trackways are grouped together and separate from dinosaur bones.
Part 4 – Securing the stewardship of your collection for the future
With proper care, your fossil collection will outlive you. So, it is a good idea to make plans to ensure that the collection is safe and useful even when you are no longer around. One solution is to pass your collection along to someone else. This is the time when your careful attention to detail will shine.
Remember that if you have a collection of physical fossils, you are merely a steward of those specimens. The ownership of the fossils resides with the province or country where they were collected. Fossils are protected by law and in BC they are considered cultural property. It is illegal to buy and sell BC fossils. In order for the fossils to leave Canada, special permission must be obtained from the Federal government.
A famous Vancouver Island fossil collector is Graham Beard. Graham’s life-long collection consists of 20,000 specimens. Because Graham was a careful collector from the start, his collection is now housed in the Qualicum Beach Museum on Vancouver Island. Part of the collection is on display for public enjoyment and part of the collection is used by scientists for research on Vancouver Island fossils.
Fossils can tell us so much about our past, but only if we are willing to learn and observe. It’s pretty amazing to think that what is now a rock was once a living creature!
About the author
Marianne Wong is a volunteer in the Fossil Collection and she also works part-time at the Geological Survey of Canada.
About UBC’s Fossil Collection
The Fossil Collection was started in 1924 by Dr. Merton Yarwood Williams, who was a founding member of what was then UBC’s Department of Geology. The collection began with the purchase of specimens from W.J. Sutton, a local mining engineer. It expanded substantially in the 1970s and 1980s with the curatorial efforts of Joe Nagel, curator from 1971 to 1995.
The Fossil Collection is part of the Pacific Museum of Earth, Department of Earth, Ocean and Atmospheric Sciences, UBC. The collection is housed in the Beaty Biodiversity Museum and contains over 20,000 specimens, some of which preserve evidence of life dating back to the Precambrian.